
Setting up a new-hire record is not about collecting every document available. Start by explaining why each item is needed, who will hold it, who may see it, and when its use or access should be reviewed. List the information required for onboarding, separate it by purpose, and pause any field whose purpose is unclear until the process owner can explain it.
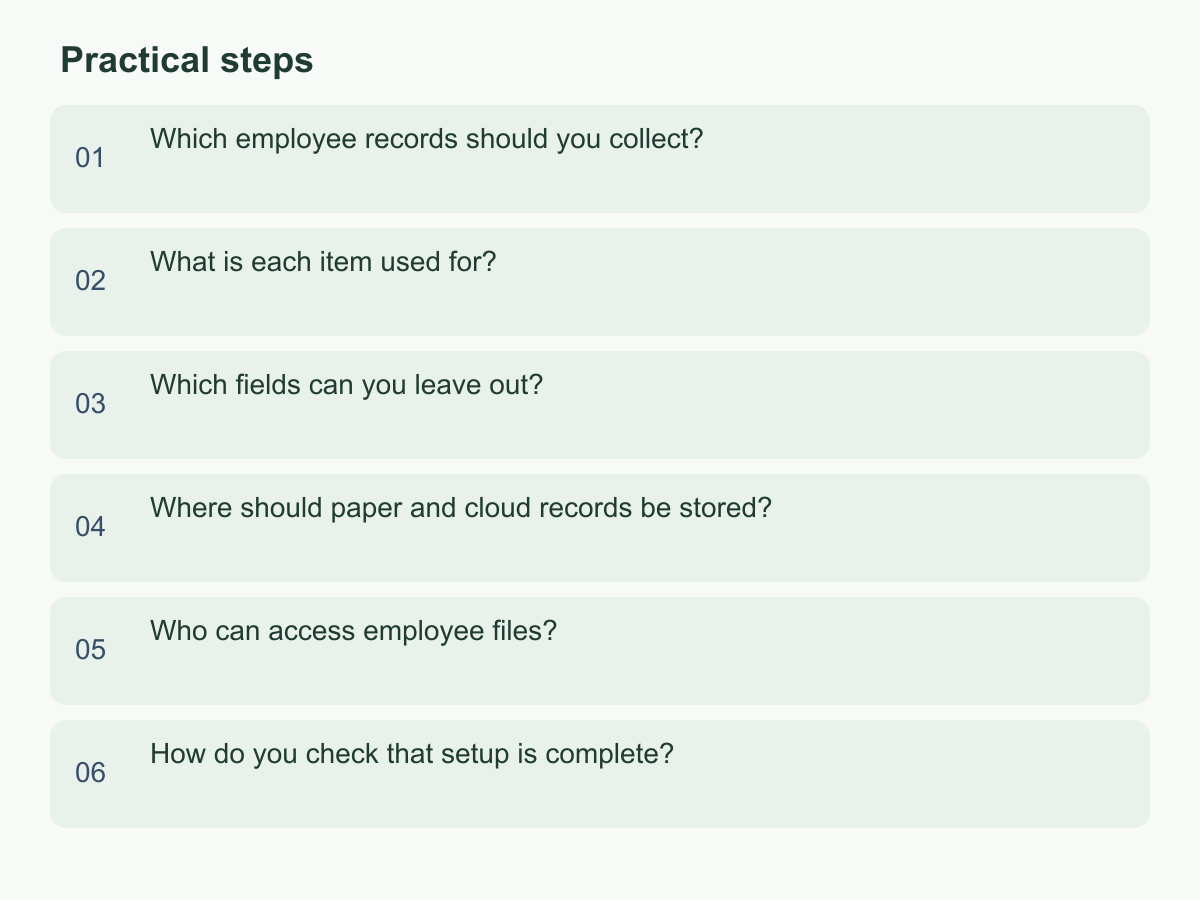
Which employee records should you collect?
Before collecting anything, review the checklist with the person who handles onboarding. Group items as information needed to complete hiring and work arrangements, information needed for payroll or internal administration, and information needed only for particular roles. A basic record may include a person's name, start date, job title, department, direct manager, and company-assigned employee number. Keep only the contact details the process will actually use. Collect an emergency contact only when there is a defined reason to use one. Keep payroll fields separate and ask the payroll owner to confirm what is needed. For role-specific qualifications, record a verification result or retain only the necessary proof. Identity documents, home addresses, photographs, family details, and health information should not automatically be part of every new hire's file; first identify their purpose and responsible owner.
| Record category | Possible items | Purpose and initial handling |
|---|---|---|
| Work arrangements | Name, role, start date | Keep in the basic record |
| Payroll | Necessary payment details | Limit access to the payroll contact |
| Role-specific checks | Required qualification check | Record who verified it and the result |
| Emergency contact | Contact name and details | Confirm the need, then store separately |
The checklist should name the role that receives each item and who follows up on missing information. This helps prevent managers and coworkers from forwarding documents through personal messages. If reliable internal information already exists, confirm whether it can be reused before asking the new hire to resend it. Before intake, provide a short explanation of each item's purpose, recipient, transfer method, and contact for questions. Mark each item received, outstanding, or not applicable, and state the reason and next step for missing items. Track completion status without making extra copies of full documents.
What is each item used for?
Each field should support a specific task. A name and job title help identify work arrangements; a contact method supports agreed work communications; payroll information goes to the person handling payment; and qualification evidence is used only when the role requires a check. Describe the purpose in a sentence a colleague can understand, such as notifying the new hire about the first week. A broad label such as personnel administration is hard to apply when deciding who needs access or whether an attachment is necessary.
Add four columns to the checklist: purpose, responsible person, roles permitted to view the item, and what happens when the task is complete. Providing a phone number does not mean every manager needs the full personal record. A payroll contact's need to confirm payment details does not give them a reason to read qualification documents. If an item supports two tasks, record both purposes and the people who use it; possible future usefulness is not, by itself, a reason to keep it indefinitely.
For example, if a manager only needs to arrange a reporting time, give them the reporting status and work contact details. Keep payment account information within the payroll process. Set a review point when the purpose changes, a process ends, or the employee changes roles, so the record owner can reconsider access and handling. These are internal process choices. If a formal requirement applies, the responsible person should confirm its scope and record the basis and fields needed. For a qualification check, it may be enough for other work processes to see the verifier, verification date, and result, while the supporting document stays with a limited-access contact. Before adding a field for a new purpose, decide whether it is actually necessary.
Which fields can you leave out?
For each field, ask: Which step cannot be completed without it? Is there a less detailed or less sensitive alternative? Who will actually use it? Is it still needed after the purpose ends? If there is no clear answer, remove the field for now and ask the process owner to explain the need before adding it back.
Review items such as unrelated family details, private social media accounts, full home addresses, identity-document copies, photographs, and health details. Their presence on an old form does not make them standard onboarding requirements. If a condition needs to be checked, consider whether a verification result, limited field, or current-status record is enough, rather than retaining the whole document. When a manager requests an extra field, ask for the use case, the people who would see it, and how it will be handled when no longer needed. Do not make unrelated fields mandatory or ask for full identity documents or private account passwords just because a form can accept them.
Review an existing form field by field. Mark items as required, conditionally needed, pending review, or to be removed, and record who updated the form and its version date. Try the revised form in the next onboarding process and check whether it still leads to duplicate requests or delays. Do not guess about items tied to a formal, payroll, or other defined process; ask the relevant owner to confirm the necessary scope, then collect only what supports that step. Make required, optional, and not-applicable fields clear, and provide a contact for questions. A blank answer is not automatically an omission: if the information is unrelated to the work, accept that it was not provided and record the decision. Remove links to retired forms so teams do not keep asking for cancelled items.
Where should paper and cloud records be stored?
Choose one official location and name a record owner. This prevents paper from moving among HR, managers, and the new hire while electronic copies collect in email, messaging apps, or personal cloud accounts. Store paper files in a locked cabinet under a consistent filing rule, such as the employee number. Keep a simple checkout record with the person taking a file, the purpose, the date, and whether it was returned. Use a sealed document envelope for handoffs and confirm the recipient.
For cloud records, use storage approved by the company and limit membership in the employee-record area. Separate basic information, payroll attachments, and role-specific proof according to their purposes. Avoid folder names that reveal sensitive details. A filename such as employee number, document type, and date is easier to manage than one containing a full identity number; avoid exposing sensitive numbers in shared links as well. Use individual accounts and role groups, not shared passwords or links that anyone can open.
If an external file service is involved, confirm that the company allows the intended use and clarify who receives the files and who manages access. Treat it as an external tool in the workflow, not as a Chan & Chung service. If both paper and cloud copies are kept, identify the official version, the person who updates it, and how duplicates are handled. When responsibility changes, transfer file ownership and review old sharing permissions. If paper is the only available option for now, maintain an index, a named custodian, and a checkout record. For a cloud setup, use test accounts representing an authorized owner and an unrelated colleague to confirm that each can do only what their role requires. Do not test public links with real sensitive records or save access screenshots where everyone can view them. If the new hire does not yet have a company account, arrange restricted receipt by the owner instead of asking them to send documents to a personal email address.
Who can access employee files?
Grant access item by item according to the work required, rather than opening an entire folder based on someone's title. The HR contact can receive items, check completeness, and create the record. A direct manager can see information needed to arrange work. Payroll staff can see fields required for payroll. Other coworkers do not gain access simply because they are in the same department.
For temporary cover, have the record owner confirm the task, the access needed, and when it should end. Remove that access when the task is complete. Each person should use their own company account so activity can be attributed to the right person. When sharing a single file, confirm the recipient, what they can do with it, and how sharing will end; do not post an employee-folder link in a large group.
Review permissions when a new hire starts, a manager or role changes, temporary cover ends, or someone leaves. If a person receives an attachment unrelated to their task, stop further forwarding and tell the owner, who can check the scope of sharing and adjust access under the company process. Give employees a clear contact for viewing or correcting their records so updates return to the official file instead of creating competing copies. An access list can record the person or role, data types they can view, approver, access start, review date, and removal status. Name a backup owner for absences or staff changes. Keeping sensitive attachments separate from ordinary work-contact details lets a manager arrange work without opening the whole personnel file. Review overlapping roles against actual tasks rather than retaining broad access for convenience.
How do you check that setup is complete?
A file is complete when its contents are usable, stored in the right place, and accessible only for the intended purposes. Check that the name and employee number match, the responsible contact has confirmed the start date and role, every document has a stated purpose, files are in the designated location, and receipt status is recorded. Remove fields and copies that are no longer needed.
Check access using the relevant roles: a manager should see work-arrangement information, payroll staff should be able to handle the necessary fields, and an unauthorized colleague should be unable to open the employee record. Ask someone other than the person who created the file to inspect one example for confusing filenames, duplicate versions, or inherited permissions. They need to record issues and outcomes, not copy sensitive attachments as evidence.
If something is missing, record the item, reason, follow-up owner, and next time to confirm it; never guess at information that was not provided. If records conflict, return to the source, have the designated contact correct the official version, and note when it was updated. Finish by recording who created and checked the file, its status, and remaining actions. Agree when to review it again, such as after a role change or when a process ends. Keep the checklist as the handoff record, update it when tasks are complete, remove temporary sharing, and tell the next person where the official version is stored. Note a process obstacle to inform a future form or access-rule update, without copying more personal data. For the next new hire, start with one table listing each field, its purpose, storage location, and permitted viewers; remove items with no clear purpose. For information about Chan & Chung, visit the English website.