
Approving an overseas procurement sample is not a matter of sending a quick “confirmed.” The aim is to turn test results into specifications, a reference sample and approval records that both buyer and supplier can check. This guide offers a practical process for freezing the applicable version before mass production and tracing differences in later batches.
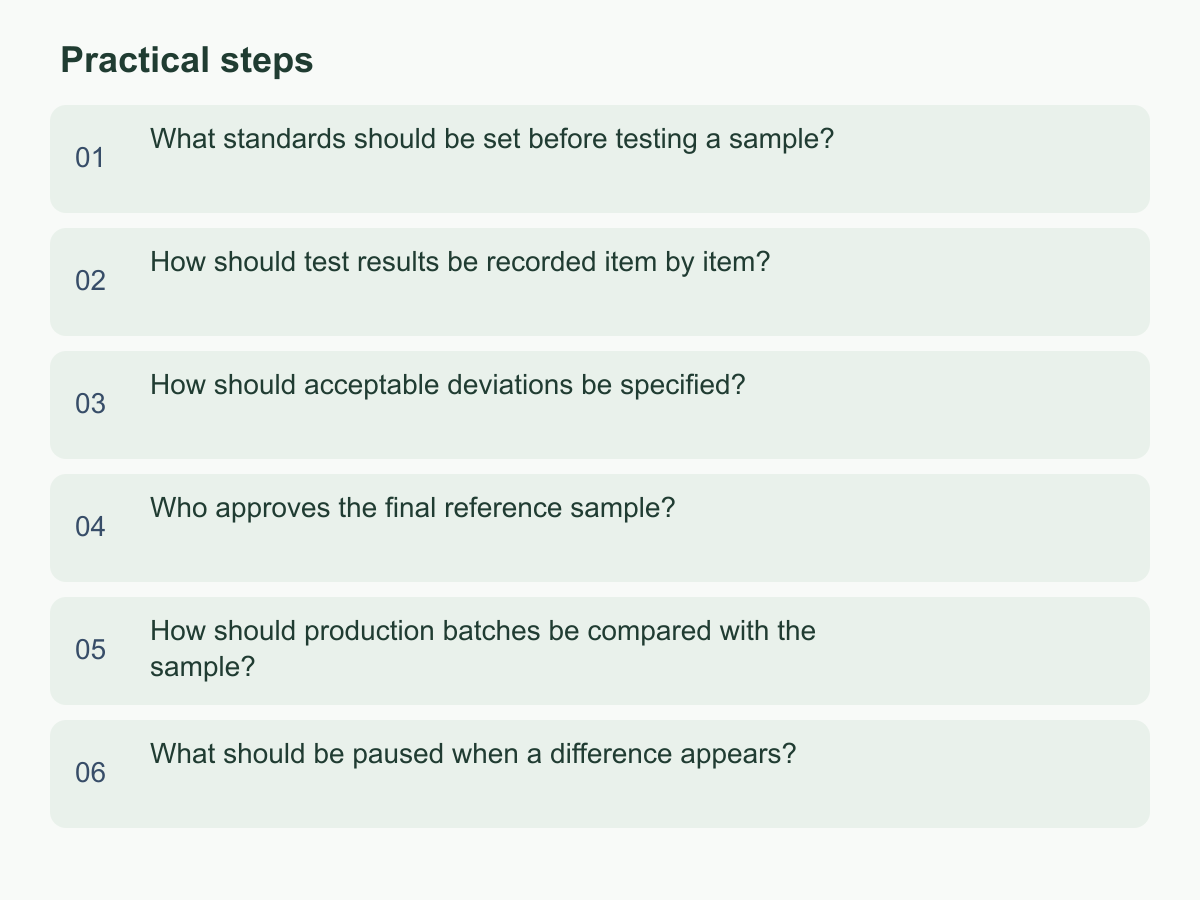
What standards should be set before testing a sample?
First define what the sample is meant to demonstrate. Align the purchase order, drawing or requirements sheet to the same item and version. List intended use and environment, materials, components, packaging and delivery condition. If the sample is handmade, uses substitute materials or is only for display, state which features do not represent mass production.
Make each requirement testable. For dimensions, weight, quantity, colour, seams, print position and function, set clear pass-or-fail criteria instead of saying “good quality” or “about the same as before.” State how and where to measure, the unit and tool, how to position or operate the sample, who checks it and what counts as passing. Use appearance photos with consistent lighting, distance and background. For performance, record the test steps and observed result rather than “OK.” Mark unmet, unknown or disputed requirements as pending; do not let the factory silently fill in a value.
Confirm the sample’s accessories and documents, decision-makers, response to failure and scope of approval: one colour and size, or a whole product range? For a hypothetical canvas bag, check body width, handle length, print position, zipper operation and packaging separately. If handle length is unsettled, mark it pending rather than treating one sample’s measurement as a commitment. The buyer can prepare standards for the supplier to confirm before making the sample. Record non-applicable items, who proposed and confirmed each requirement, version date and effective batch. Separate mandatory, negotiable and unresolved items, and retain older versions so changes to drawings or materials prompt the right retests.
How should test results be recorded item by item?
Give each sample a unique identifier and record the supplier, item, style, colour, material, submission date, requirements version and accessories. Give multiple options separate identifiers; avoid “new version” or “final version.” Put the identifier on photos, test sheets and approval messages.
Use a test sheet that follows the specification and includes each requirement, method, actual result, decision, inspector and notes. Keep evidence that another person could use to repeat the check. For dimensions, record the value and measurement point; for function, note the operating steps, result and whether it was repeated. For appearance, identify defect location, size, count, photo number and viewing angle. Replace “a scratch” with its location, visibility and photo reference. Record multiple samples separately so an average does not hide an outlier, and note tools or conditions that could affect results.
Keep conclusions separate from observations: retain measurements, photos and descriptions, then classify each item as passed, failed or pending against the agreed standard. If you retest, record why, who did it, the method and new result; do not delete earlier data. In a hypothetical test of three colours, assign each its own identifier and record a print-position issue against the affected sample. Buyer and supplier should verify the identifiers and attachment list after testing. Preserve original measurement precision and identify the source of supplier-provided data. For a correction, record who changed the entry and why without overwriting the original.
How should acceptable deviations be specified?
Do not wait until mass production to decide whether a deviation is acceptable. Distinguish the target value from the acceptable range and name who decides what happens outside it. Give measurable items upper and lower limits or a one-sided boundary. For appearance, describe the reference photo, defect location, visibility and acceptable count. If dimensions affect fitting, stacking or packaging, consider whether differences could accumulate. Avoid “approximately” or “looks fine” as the only standard, and do not relax limits after testing to fit the result.
The following figures are illustrative only. Suppose both parties agree that a canvas bag should be 30 centimetres wide, with an acceptable range of 29.5 to 30.5 centimetres. A measurement of 30.3 centimetres is within range and passes. A measurement of 30.7 centimetres exceeds the upper limit by 0.2 centimetres and is nonconforming.
| Item | Illustrative target and range | Illustrative result | Decision |
|---|---|---|---|
| Bag width | 30 cm; acceptable range 29.5–30.5 cm | 30.3 cm | Within range |
| Print position | Compare with a photo approved by both parties | Photo comparison needed | Pending |
“Pending” is not approval to release; it means evidence is insufficient. Keep the deviation, photos, affected scope and proposed response together. An authorized person should decide whether to accept it, request correction and retesting, or require a remake. A one-off exception must identify its sample or batch, reason and approver. To make it a future standard, revise the specification and obtain both parties’ confirmation.
Set tolerances to match the measuring tool’s precision and ensure inspectors use the same point. Remeasure results near a limit by the agreed method and retain each reading. For difficult-to-quantify appearance, name the inspection area, photo version, defect category and acceptable count; agree on a joint reviewer and method if opinions differ. Record the original requirement, proposed change and approval status; retain version differences, not only the latest file.
Who approves the final reference sample?
Each party should designate an authorized contact to approve the final reference sample, with any internal product, purchasing or quality review the buyer requires. Identify who can confirm specifications, accept deviations and authorize production; job titles vary, and a person who ships the sample or relays a message does not automatically have authority. Assign someone to check each critical area: approval of appearance alone does not approve every requirement.
Before approval, verify the sample identifier, specification version, colour, accessories, completed test results and open items. Record approval in a form both parties can retain, such as a signed sheet, a designated work-email reply or an existing shared process. Name the sample and version; “OK” alone is not enough. For conditional acceptance, state the condition, responsible person, due point and whether a new sample is required. Until then, do not record unconditional approval.
Label the sample with its identifier and status; photograph its front, back, details and packaging, and keep the images with the specification and test record. Agree where physical samples are stored so they are not altered or mixed with another version. If design approves the print colour but zipper material remains unconfirmed, record “colour confirmed” and “zipper information pending” separately. Use it for production only after open items are closed and both parties have checked the same version. Across time zones, state a response deadline and method: no reply means no confirmation. Update contacts, retain earlier records and verify a substitute approver’s authority.
How should production batches be compared with the sample?
Before production, align the approved sample, frozen specification and purchase order field by field, including item, style, material, colour and packaging. If the records conflict, ask both parties which version governs. Identify each batch by supplier lot number, production date or another traceable reference, and link it to the sample approval identifier. For separate production runs or changes to materials, factories or processes, confirm whether the earlier approval still applies.
Use the same measurement points, tools, units and appearance references as in the sample test. For dimensions, materials, colour, printing, function and packaging, record each batch’s results, units checked, findings, photos and decision. Include side-by-side images of the approved sample and production goods. Agree the inspection quantity and proportion in advance based on the order, risk and purchasing terms; this guide does not prescribe a universal sampling number. Separate and label mixed batches before inspection or an overall result may hide an issue in one batch.
State what differs, how the measurement or appearance changed, whether it falls outside the frozen specification and whether it could affect use, assembly, sale presentation or packaging. If a batch’s printing is visibly off-centre against a centred approved sample, record the offset using the same image and measurement basis, then judge it against the agreed limit. Complete a form for each batch and file it with delivery documents so a complaint or replacement can be traced to the batch, specification version and release decision. State which units were inspected so a sample check is not mistaken for full inspection. If findings cluster, expand the check as agreed and ask the supplier to investigate. Track conditional acceptances separately and release them only when their conditions are met.
What should be paused when a difference appears?
When production goods differ from the approved sample, pause release, further processing or shipment of the affected batch. Mark it separately from inspected and uninspected goods. Do not mix, rework or ship part of it before documenting the difference and scope. If goods are at several locations, ask each custodian for the batch, quantity and location. If only one item appears affected, check whether the issue is concentrated in a batch, process or material before deciding whether to inspect more. State exactly what is paused so the wrong order is not stopped and other approved batches are not assumed cancelled.
Check the sample identifier and specification version first, then confirm that measurement method, tool and inspection conditions match. If the difference remains, record measurements, photos, affected-unit count and possible impact, and ask the supplier whether materials, settings or processes changed. Separate facts from hypotheses, avoid assigning blame before the cause is known, and retain written decisions. Based on the prior agreement and impact, authorized contacts can choose to remake, sort, rework, accept a batch-specific deviation or request a new sample. Any acceptance should name the approver and be limited by batch, quantity and conditions.
Before release resumes, record how reworked goods will be retested, who confirms the inspection and how the supplier will prevent recurrence. If the difference changes the product specification, revise the version and approve a new reference sample before future production. Retain the old version and mark where it is no longer valid so it is not reused.
Start with a sample approval sheet listing methods, acceptable ranges, approvers and sample ID; send it to the supplier for confirmation. For broader information about Hong Kong business operations, visit the Chan & Chung English website.